Table Of Contents
- 1 Sculpting Clay Busts: A Journey of Artistic Expression
- 1.1 What is a Bust?
- 1.2 Why Sculpt Clay Busts?
- 1.3 Benefits of Sculpting Clay Busts:
- 1.4 Tools and Materials for Sculpting Clay Busts
- 1.5 Choosing the Right Clay:
- 1.6 Essential Sculpting Tools:
- 1.7 Additional Materials:
- 1.8 Sculpting a Clay Bust: Techniques and Tips for Success
- 1.9 Preparing Your Clay:
- 1.10 Building the Basic Form:
- 1.11 Shaping and Refining:
- 1.12 Adding Dimension and Expression:
- 1.13 Drying and Finishing:
- 1.14 Tips for Success:
- 1.15 Sculpting Clay Busts: Conclusions and FAQs
- 1.16 Key Takeaways:
- 1.17 Frequently Asked Questions:
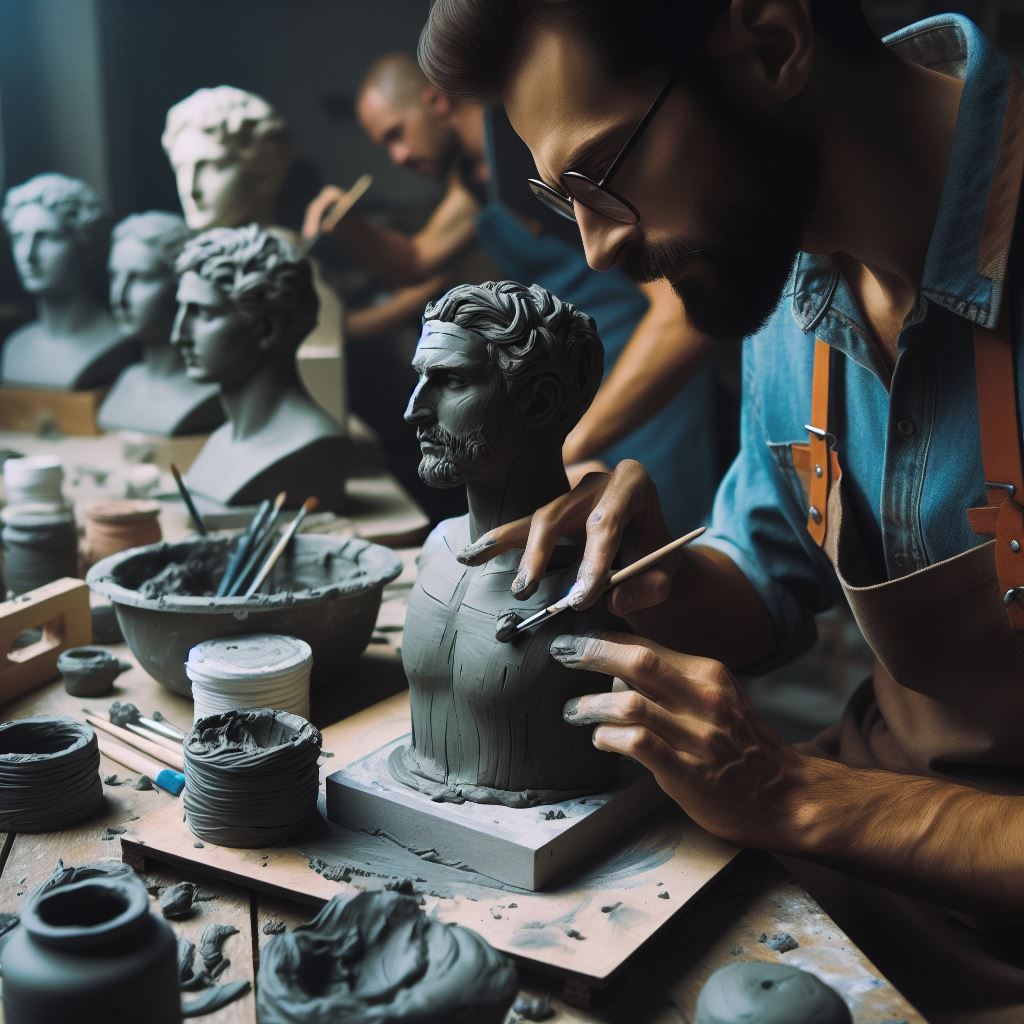
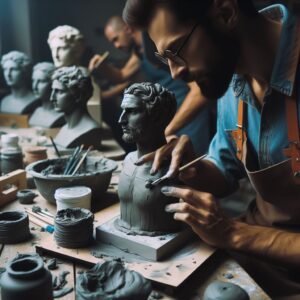
Sculpting Clay Busts: A Journey of Artistic Expression
Sculpting clay busts offers a captivating and rewarding journey into the world of artistic expression. From capturing the likeness of a loved one to immortalizing historical figures or bringing your own imaginative characters to life, this art form allows you to translate your vision into a tangible three-dimensional masterpiece.
What is a Bust?
A bust is a sculpted representation of the head and shoulders of a person or figure. It can be created in various sizes and styles, ranging from realistic portraits to abstract interpretations. Busts hold a significant place in art history, serving as commemorative pieces, decorative objects, and expressions of artistic skill.
Why Sculpt Clay Busts?
Sculpting clay busts offers a unique blend of technical challenge and creative freedom. It requires careful observation, anatomical understanding, and fine motor skills to capture the nuances of facial features and expressions. At the same time, it allows you to explore your artistic vision, personality, and emotions through your chosen subject and sculpting style.
Benefits of Sculpting Clay Busts:
- Develops artistic skills and techniques: Sculpting clay busts helps hone sculpting skills like pinching, coiling, slab construction, carving, and texturing. It also improves hand-eye coordination, dexterity, and spatial awareness.
- Boosts creativity and self-expression: By sculpting busts, you explore your artistic vision and translate your ideas into tangible form. This process encourages creative thinking, problem-solving, and self-expression.
- Provides a sense of accomplishment: Completing a clay bust sculpture is a rewarding experience that fosters a sense of accomplishment and pride in your artistic abilities.
- Offers a unique way to connect with history and art: Sculpting busts can be a way to connect with historical figures, learn about different art movements, and appreciate the artistry of portraiture.
In the next session, we will delve into the tools and materials essential for sculpting clay busts.
Tools and Materials for Sculpting Clay Busts
Now that you have explored the captivating world of sculpting clay busts, let’s delve into the essential tools and materials that will empower you on your creative journey.
Choosing the Right Clay:
- Air-dry clay: This readily available and affordable option is ideal for beginners. It dries at room temperature and allows for revisions and adjustments.
- Polymer clay: Offering greater durability and versatility, polymer clay requires baking in an oven to harden. It is suitable for more intricate details and can be painted with various mediums.
- Water-based clay: This type of clay is similar to air-dry clay but requires less drying time and offers a smoother texture.
Essential Sculpting Tools:
- Sculpting knives: These come in various shapes and sizes for shaping, cutting, and removing clay.
- Loop tools: These wire-shaped tools are perfect for creating delicate details and smoothing out rough edges.
- Spatulas: Useful for shaping large areas of clay and smoothing surfaces.
- Rolling pin: Facilitates the even rolling of clay sheets for slab construction.
- Texturing tools: Add visual interest and depth to your sculptures with textured combs, rollers, and stamps.
- Sculpture stand: Provides a stable and adjustable platform for working on your bust.
Additional Materials:
- Armature: For larger busts, consider using a wire armature to provide support and structure.
- Brushes: Useful for applying slip (a thin paste made from clay and water) for joining clay pieces and adding details.
- Sandpaper: Smooth out imperfections and refine the surface of your finished sculpture.
- Paints and sealants: Add color and protect your finished bust with acrylic paints, oil paints, or sealants.
Remember: The specific tools and materials you choose may vary depending on your experience level, the size of your bust, and your chosen sculpting style.
In the next, we will embark on the practical journey of sculpting clay busts, exploring fundamental techniques and valuable tips for success.
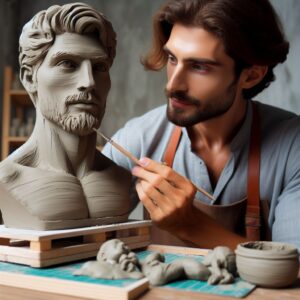
Sculpting a Clay Bust: Techniques and Tips for Success
With your tools and materials gathered, it’s time to embark on the exciting process of sculpting your clay bust. Here are some fundamental techniques and valuable tips to guide you on your creative journey:
Preparing Your Clay:
- Knead the clay thoroughly: This removes air pockets and ensures a smooth and consistent texture for sculpting.
- Warm the clay: This makes it more pliable and easier to work with, especially for polymer clay.
- Work in small sections: Instead of tackling the entire bust at once, focus on smaller areas at a time to maintain control and precision.
Building the Basic Form:
- Pinching and coiling: These basic techniques involve shaping the clay with your fingers and joining pieces to build the head and neck.
- Slab construction: This involves rolling out sheets of clay and assembling them to create the basic structure of the bust.
- Armatures: For larger busts, use a wire armature to provide support and guide the shape of your sculpture.
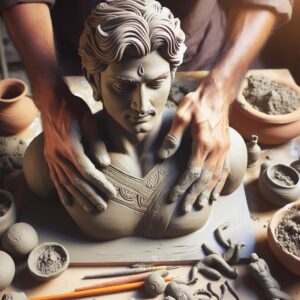
Shaping and Refining:
- Sculpting knives and tools: Utilize different tools to sculpt the facial features, refine details, and add texture to your bust.
- Loop tools: These are perfect for creating delicate details like the eyes, lips, and nostrils.
- Spatulas: Use spatulas for smoothing larger areas and creating a seamless finish.
Adding Dimension and Expression:
- Texturing: Experiment with textured tools to add visual interest and depth to your bust, such as wrinkles, hair texture, or clothing details.
- Expression: Capture the personality and emotions of your subject through facial expressions and subtle details.
- Finishing touches: Use sandpaper to smooth out any rough edges and refine the overall form.
Drying and Finishing:
- Air-dry clay: Allow your bust to dry completely at room temperature, following the recommended drying time for the specific clay type.
- Polymer clay: Bake your bust in an oven according to the manufacturer’s instructions.
- Sealing and painting: Apply a sealant to protect your finished bust and add color with acrylic paints, oil paints, or other suitable mediums.
Tips for Success:
- Use reference materials: Having photographs, drawings, or even a live model to refer to can significantly improve the accuracy and likeness of your bust.
- Take breaks and step back: Regularly take breaks to assess your progress and avoid overworking the clay.
- Practice and experiment: Don’t be afraid to experiment with different techniques and tools. The more you practice, the more confident and skilled you will become.
- Have fun: Enjoy the creative process and embrace the unique challenges and rewards of sculpting a clay bust.
By following these techniques and tips, you can embark on a fulfilling journey towards sculpting captivating clay busts that express your artistic vision and capture the essence of your chosen subject.
Now next, we will address frequently asked questions and provide concluding remarks to solidify your understanding and encourage your continued exploration of the world of clay bust sculpting.
Sculpting Clay Busts: Conclusions and FAQs
As we conclude our exploration of sculpting clay busts, let’s solidify your understanding with key takeaways and address frequently asked questions to empower you to confidently navigate this rewarding artistic pursuit.
Key Takeaways:
- Sculpting clay busts offers a unique blend of technical challenge and creative expression, allowing you to translate your vision into a tangible three-dimensional artwork.
- Choosing the right clay type, gathering essential tools and materials, and using proper techniques are crucial for successful bust sculpting.
- Fundamental techniques like pinching, coiling, slab construction, carving, and texturing are essential for shaping and refining your bust.
- Attention to detail, careful observation, and practice play a significant role in capturing the likeness and expression of your subject.
- Experimentation, creativity, and a sense of enjoyment are key to unleashing your artistic potential and sculpting captivating clay busts.
Frequently Asked Questions:
1. What is the best type of clay for sculpting busts?
The best clay type depends on your experience level, desired outcome, and budget. Air-dry clay is beginner-friendly, while polymer clay offers greater durability and detail. Water-based clay offers a smooth texture and faster drying time.
2. Do I need any special skills to sculpt clay busts?
While artistic talent is beneficial, prior sculpting experience is not necessary. With dedication and practice, anyone can learn the necessary techniques and create beautiful clay busts.
3. How long does it take to sculpt a clay bust?
The sculpting time varies depending on the size and complexity of your bust, your experience level, and the drying time of the chosen clay type. Plan for several days to weeks for a complete bust.
4. What are some resources for learning more about clay bust sculpting?
Numerous online tutorials, books, and workshops can provide valuable guidance and inspiration for sculpting clay busts. Consider joining online communities to connect with other artists and share your experiences.
5. How can I preserve my clay bust?
After drying and finishing your bust, apply a sealant to protect it from dust, moisture, and fading. Store your bust in a cool, dry place out of direct sunlight.
With the knowledge and skills gained through this exploration, you are now equipped to embark on your own captivating journey of sculpting clay busts. Remember, practice, experimentation, and a passion for artistic expression are the keys to unlocking your creative potential and shaping your artistic vision into tangible masterpieces.
Happy sculpting!