Table Of Contents
- 1 Introduction: Unleashing Creativity with Air Dry Clay Home Decor
- 1.1 Unveiling the Essence of Air Dry Clay
- 1.2 A Symphony of Textures
- 1.3 Embarking on the Journey
- 1.4 The Art of Shaping
- 1.5 Adding Depth and Dimension
- 1.6 The Finishing Touches
- 1.7 Delving into the World of Air Dry Clay: A Medium for Artistic Expression
- 1.8 Unveiling the Charm of Air Dry Clay: A Natural Choice for Home Decor
- 1.9 A Canvas for Artistic Exploration: The Versatility of Air Dry Clay
- 1.10 Embarking on the Artistic Journey: Essential Tools and Materials
- 1.11 The Art of Sculpting: Transforming Clay into Home Decor Masterpieces
- 1.12 Unleashing Creativity: A World of Sculpting Techniques
- 1.13 The Finishing Touches: Adding Polish and Protection to Your Creations
- 1.14 Unleashing Creativity: Transforming Clay into Home Decor Masterpieces
- 1.15 Shaping the Foundation: Mastering Basic Forms with Air Dry Clay
- 1.16 A Symphony of Textures: Embossing and Carving for Added Depth
- 1.17 Blending Hues and Adding Embellishments: A Palette of Personalization
- 1.18 The Art of Baking: Transforming Clay into Durable Masterpieces
- 1.19 Adding the Finishing Touches: Polishing and Protecting Your Masterpieces
- 1.20 Culminating the Artistic Journey of Air Dry Clay Home Decor
- 1.21 Recap: Unleashing Creativity through Air Dry Clay
- 1.22 The Art of Shaping: Mastering Basic Forms and Beyond
- 1.23 A Symphony of Textures: Embossing, Carving, and Blending Hues
- 1.24 Personalizing Your Masterpieces: Adding Embellishments and Finishing Touches
- 1.25 The Transformative Power of Baking: Hardening Your Clay Masterpieces
- 1.26 Protecting and Polishing: Preserving Your Artistic Legacy
- 1.27 Conclusion
- 1.28 FAQs
Introduction: Unleashing Creativity with Air Dry Clay Home Decor
In the realm of DIY home decor, sculpting with air dry clay stands as an enchanting and accessible art form. This versatile material, renowned for its ease of use and natural finish, empowers individuals to craft unique and personalized pieces that reflect their personal style and enhance the ambiance of their living spaces. Whether you’re a seasoned artist or an eager novice, embarking on this journey of air dry clay sculpting promises an enriching and rewarding experience.
Unveiling the Essence of Air Dry Clay
Air dry clay, a natural and non-toxic modeling compound, has captivated the hearts of home decor enthusiasts worldwide. Unlike traditional clays that require intricate firing processes, air dry clay offers a simplified approach, allowing for creativity to flourish without the constraints of complex procedures. Its malleable nature makes it ideal for shaping into a wide array of forms, from delicate figurines to intricate wall hangings.
A Symphony of Textures
The allure of air dry clay extends beyond its ease of use to encompass a mesmerizing array of textures. Whether you seek to capture the roughness of bark, the smoothness of pebbles, or the intricate details of leaves, air dry clay allows you to transform your creations into tangible representations of the natural world. Experiment with various sculpting tools and techniques to create a variety of textures, adding depth and dimension to your home decor pieces.
Embarking on the Journey
Before embarking on your air dry clay home decor adventure, it’s essential to gather the necessary tools and materials. A dedicated work surface, such as a non-porous mat, will provide a clean and stable platform for your creations to take shape. Air dry clay sculpting tools, in a variety of shapes and sizes, will enable you to transform the clay into desired forms. Sponges and brushes will allow you to smooth and refine your creations, while sandpaper can be used to add texture and distress your pieces.
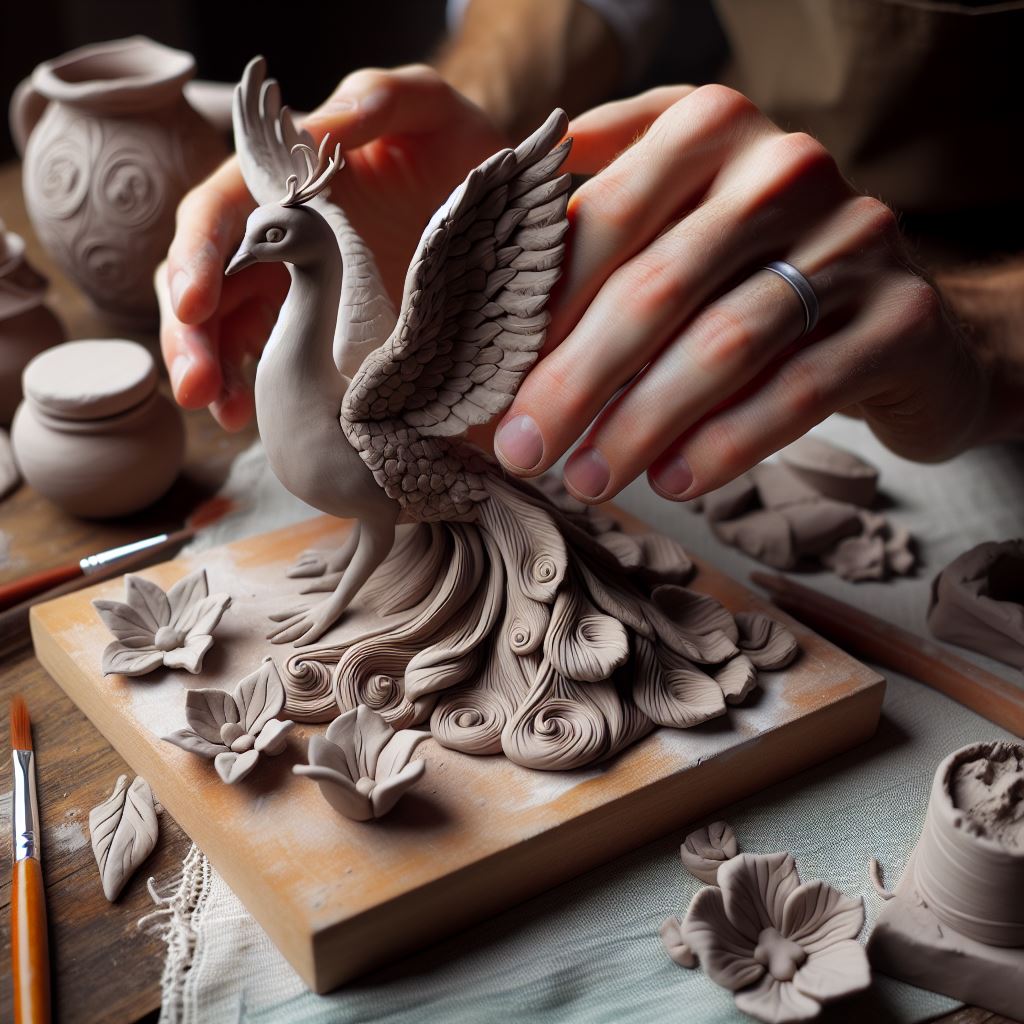
The Art of Shaping
With your air dry clay conditioned and ready to embrace your creative vision, it’s time to explore the art of shaping. Using your hands, sculpting tools, and molds, transform the clay into a variety of forms, limited only by your imagination. Create delicate figurines to adorn your shelves, sculpt bowls and vases to add a touch of rustic elegance to your kitchen, or craft intricate wall hangings to transform your living space into a captivating gallery.
Adding Depth and Dimension
As you delve deeper into the art of air dry clay sculpting, you’ll discover a diverse array of sculpting techniques that will elevate your creations to new heights. Employ sculpting tools to add delicate details, subtle textures, and intricate patterns to your pieces. Experiment with layering clay, blending hues, and incorporating embellishments such as beads, pebbles, or natural elements to create truly captivating home decor accents.
The Finishing Touches
Once your air dry clay home decor pieces have taken shape, it’s time to add the finishing touches that will elevate their aesthetic appeal. Sandpaper can be used to smooth rough edges and create a polished finish. Paints and varnishes can be applied to add color, vibrancy, and protection to your creations. Experiment with different finishing techniques to create a unique and personalized look for your home decor pieces.
Delving into the World of Air Dry Clay: A Medium for Artistic Expression
The realm of air dry clay sculpting invites individuals to embark on a creative journey, transforming simple clay into captivating pieces of home decor. This versatile material, renowned for its malleability and ease of use, empowers crafters of all skill levels to unleash their artistic potential and personalize their living spaces with unique and handcrafted accents.
Unveiling the Charm of Air Dry Clay: A Natural Choice for Home Decor
Air dry clay, a natural and non-toxic modeling compound, has captivated the hearts of home decor enthusiasts worldwide. Its self-hardening nature eliminates the need for intricate firing processes, allowing for creativity to flourish without the constraints of complex procedures. This user-friendly medium offers a simplified approach to sculpting, making it ideal for both seasoned artists and eager novices.
A Canvas for Artistic Exploration: The Versatility of Air Dry Clay
Air dry clay extends its allure beyond its ease of use to encompass a mesmerizing array of textures and possibilities. Whether you seek to capture the delicate details of a flower, the intricate patterns of a leaf, or the rustic roughness of bark, air dry clay allows you to transform your imagination into tangible representations of the natural world. Experiment with various sculpting tools and techniques to create a symphony of textures, adding depth and dimension to your home decor pieces.
Embarking on the Artistic Journey: Essential Tools and Materials
Before embarking on your air dry clay home decor adventure, it’s essential to gather the necessary tools and materials. A dedicated work surface, such as a non-porous mat, will provide a clean and stable platform for your creations to take shape. Air dry clay sculpting tools, ranging from delicate needles to versatile dotting tools, will empower you to transform the clay into desired forms. Sponges and brushes will allow you to smooth and refine your creations, while sandpaper can be used to add texture and distress your pieces.
The Art of Sculpting: Transforming Clay into Home Decor Masterpieces
With your air dry clay conditioned and ready to embrace your creative vision, it’s time to explore the art of shaping. Using your hands, sculpting tools, and molds, transform the clay into a variety of forms, limited only by your imagination. Create delicate figurines to adorn your shelves, sculpt bowls and vases to add a touch of rustic elegance to your kitchen, or craft intricate wall hangings to transform your living space into a captivating gallery.
Unleashing Creativity: A World of Sculpting Techniques
As you delve deeper into the art of air dry clay sculpting, you’ll discover a diverse array of sculpting techniques that will elevate your creations to new heights. Employ sculpting tools to add delicate details, subtle textures, and intricate patterns to your pieces. Experiment with layering clay, blending hues, and incorporating embellishments such as beads, pebbles, or natural elements to create truly captivating home decor accents.
The Finishing Touches: Adding Polish and Protection to Your Creations
Once your air dry clay home decor pieces have taken shape, it’s time to add the finishing touches that will elevate their aesthetic appeal. Sandpaper can be used to smooth rough edges and create a polished finish. Paints and varnishes can be applied to add color, vibrancy, and protection to your creations. Experiment with different finishing techniques to create a unique and personalized look for your home decor pieces.
Unleashing Creativity: Transforming Clay into Home Decor Masterpieces
With the essential tools and materials gathered and your creative spirit ignited, it’s time to delve into the transformative art of sculpting with air dry clay for home decor. Let your imagination soar as you explore a myriad of techniques, textures, and designs to create unique and personalized pieces that will enhance the ambiance of your living spaces.
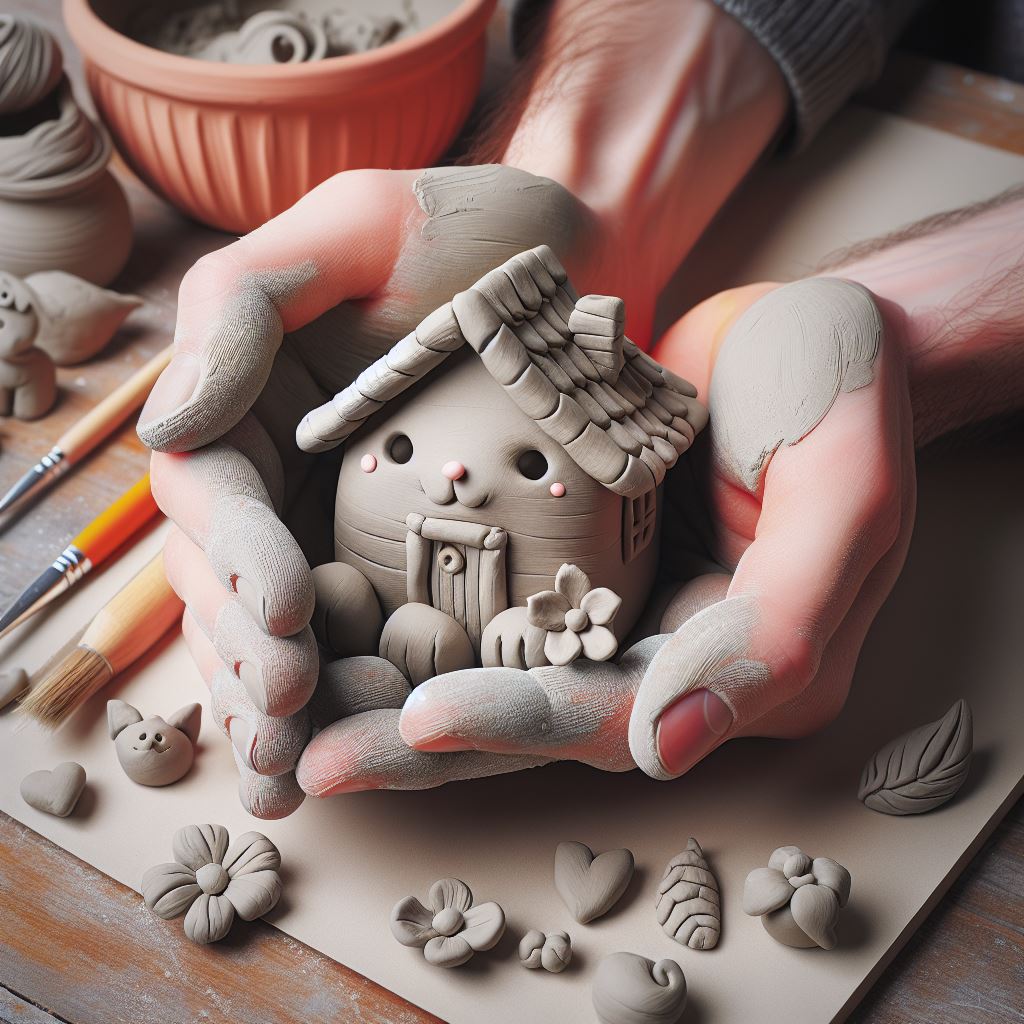
Shaping the Foundation: Mastering Basic Forms with Air Dry Clay
The journey of air dry clay sculpting begins with mastering the art of forming basic shapes – the building blocks for your intricate designs. Using your hands, sculpting tools, and molds, transform the clay into spheres, cubes, cylinders, and countless other shapes, laying the groundwork for your elaborate creations. Experiment with different techniques, such as pinching, coiling, and extruding, to create a variety of forms that will serve as the foundation for your home decor pieces.
A Symphony of Textures: Embossing and Carving for Added Depth
As you progress in your air dry clay sculpting journey, discover the power of embossing and carving to add depth and dimension to your creations. Employ embossing tools to create patterns and textures on the surface of your clay, mimicking the intricate details of leaves, bark, or other natural elements. For a more defined look, use carving tools to carefully remove layers of clay, revealing intricate designs and delicate details that will elevate your home decor pieces.
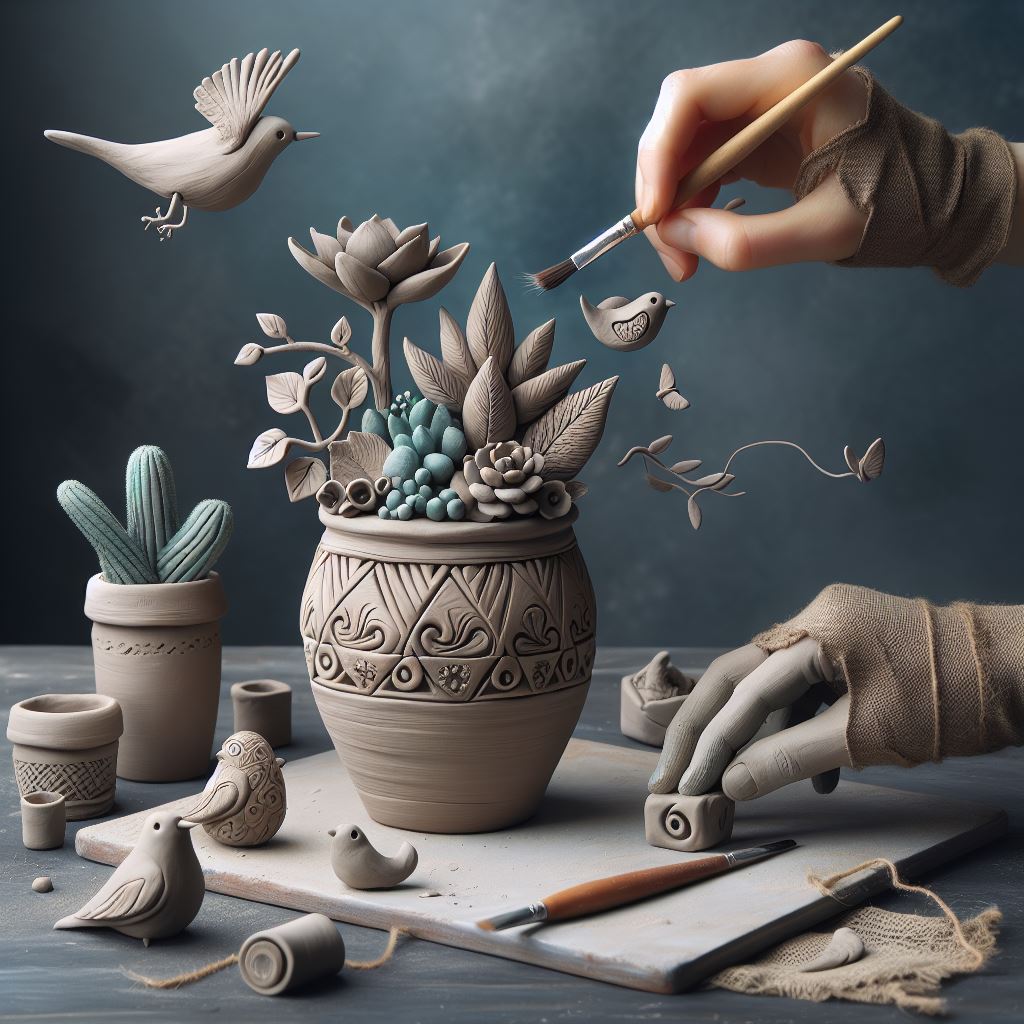
Blending Hues and Adding Embellishments: A Palette of Personalization
The allure of air dry clay sculpting extends beyond its malleability to encompass a mesmerizing array of colors and embellishments. Unleash your creativity by blending air dry clay colors to create custom hues that reflect your personal style and the ambiance of your home decor. Experiment with layering different colors, adding subtle gradients, or incorporating vibrant accents to bring your creations to life. Enhance your pieces with embellishments such as beads, sequins, pebbles, or natural elements, adding a touch of sparkle, texture, or rustic charm to your creations.
The Art of Baking: Transforming Clay into Durable Masterpieces
Once your air dry clay creations have taken shape, it’s time to unveil their true essence through the transformative power of baking. Preheat your oven to the recommended temperature, typically between 225 and 275 degrees Fahrenheit. Place your air dry clay pieces on an oven-safe baking sheet lined with parchment paper. Bake for the specified time, ensuring even heat distribution. Upon completion, allow your creations to cool completely before handling.
Adding the Finishing Touches: Polishing and Protecting Your Masterpieces
With your air dry clay home decor pieces baked and hardened, it’s time to add the finishing touches that will elevate their aesthetic appeal and protect them from wear and tear. Use sandpaper to smooth out any imperfections and create a polished finish. Apply paints or varnishes to add color, vibrancy, and protection to your creations. Experiment with different finishing techniques, such as dry brushing, antiquing, or gilding, to create a unique and personalized look for your home decor pieces.
Culminating the Artistic Journey of Air Dry Clay Home Decor
As you conclude your captivating journey of sculpting with air dry clay to create home decor, take a moment to reflect on the transformative power of this versatile medium. Through your creative endeavors, you have transformed simple clay into tangible expressions of your artistic vision, crafting unique and personalized pieces that enhance the ambiance of your living spaces.
Recap: Unleashing Creativity through Air Dry Clay
Your journey began with a spark of creativity, a desire to transform ordinary materials into extraordinary pieces of home decor. You delved into the world of air dry clay, discovering its malleability, ease of use, and natural finish. Equipped with essential tools and techniques, you embarked on a path of artistic exploration, shaping clay into a myriad of forms, textures, and designs.
The Art of Shaping: Mastering Basic Forms and Beyond
You mastered the art of forming basic shapes, the foundation upon which your intricate designs took shape. Using your hands, sculpting tools, and molds, you transformed clay into spheres, cubes, cylinders, and countless other forms, laying the groundwork for your elaborate creations. As your skills evolved, you ventured into more complex techniques, such as pinching, coiling, and extruding, expanding your repertoire of shapes and adding depth to your creations.
A Symphony of Textures: Embossing, Carving, and Blending Hues
You discovered the power of embossing and carving to add depth and dimension to your air dry clay home decor pieces. With embossing tools, you created patterns and textures on the surface of the clay, mimicking the intricate details of leaves, bark, or other natural elements. For a more defined look, you employed carving tools to carefully remove layers of clay, revealing intricate designs and delicate details that elevated your creations.
Personalizing Your Masterpieces: Adding Embellishments and Finishing Touches
Your journey extended beyond the realm of shaping and texturing to encompass the art of personalization. You unleashed your creativity by blending air dry clay colors to create custom hues that reflected your personal style and the ambiance of your home decor. Experimenting with layering different colors, adding subtle gradients, or incorporating vibrant accents, you brought your creations to life with a touch of vibrancy and personality.
The Transformative Power of Baking: Hardening Your Clay Masterpieces
With your air dry clay creations taking shape, you harnessed the transformative power of baking to harden your pieces into durable masterpieces. Following the recommended baking temperature and time, you ensured even heat distribution, allowing your creations to transform from delicate clay forms into sturdy home decor accents.
Protecting and Polishing: Preserving Your Artistic Legacy
In the final stage of your journey, you added the finishing touches that would protect and enhance the aesthetic appeal of your air dry clay home decor pieces. Using sandpaper, you smoothed out any imperfections, creating a polished finish that showcased your craftsmanship. Applying paints or varnishes, you added color, vibrancy, and protection to your creations, ensuring they would retain their beauty for years to come.
Conclusion
As you conclude your journey of sculpting with air dry clay to create home decor, embrace the legacy you have created. Your handcrafted pieces, imbued with your creativity and personal touch, now adorn your living spaces, adding a unique and personalized touch to your home decor. Share your creations with loved ones, inspire others to embark on their own artistic journeys, and continue to explore the endless possibilities that air dry clay sculpting has to offer. Let your creativity flourish, your hands transform simple clay into masterpieces, and your home reflect your unique artistic vision.
FAQs
Question 1: What are the essential tools and materials needed for sculpting with air dry clay for home decor?
Answer:
The essential tools and materials needed for sculpting with air dry clay for home decor include:
- Air dry clay
- Dedicated work surface
- Air dry clay sculpting tools (needles, dotting tools, extruders, etc.)
- Sponges and brushes
- Sandpaper
- Paints and varnishes (optional)
- Embellishments (optional)
Question 2: What are some basic sculpting techniques that can be used for air dry clay home decor?
Answer:
Some basic sculpting techniques that can be used for air dry clay home decor include:
- Pinching: Pinching involves using your fingers to shape the clay into desired forms.
- Coiling: Coiling involves building up forms by coiling strips of clay.
- Extruding: Extruding involves using an extruder to create long, thin strands of clay.
- Embossing: Embossing involves creating patterns and textures on the surface of the clay using embossing tools.
- Carving: Carving involves removing layers of clay to create intricate designs and details.
Question 3: What are some tips for baking air dry clay home decor pieces?
Answer:
Some tips for baking air dry clay home decor pieces include:
- Preheat your oven to the recommended temperature, typically between 225 and 275 degrees Fahrenheit.
- Place your air dry clay pieces on an oven-safe baking sheet lined with parchment paper.
- Bake for the specified time, ensuring even heat distribution.
- Allow your creations to cool completely before handling.
Question 4: How can I protect and finish my air dry clay home decor pieces?
Answer:
There are several ways to protect and finish your air dry clay home decor pieces:
- Sandpaper: Use sandpaper to smooth out any imperfections and create a polished finish.
- Paints: Apply paints to add color and vibrancy to your creations.
- Varnishes: Apply varnishes to protect your creations from wear and tear.