Table Of Contents
- 1 Unveiling Solutions: Introduction to Troubleshooting Clay Sculpting Problems
- 1.1 Why Troubleshooting Clay Sculpting Problems?
- 1.2 Demystifying the Terminology: Meaning of Troubleshooting Clay Sculpting Problems
- 1.3 Conquering Challenges: Practical Solutions for Troubleshooting Clay Sculpting Problems
- 1.4 Cracking:
- 1.5 Slumping:
- 1.6 Uneven surfaces:
- 1.7 Adhesion issues:
- 1.8 Firing problems:
- 2 Conclusion:
Unveiling Solutions: Introduction to Troubleshooting Clay Sculpting Problems
Embarking on the artistic journey of clay sculpting can be exciting and fulfilling, offering a unique outlet for creativity and expression. However, even the most seasoned sculptor encounters challenges along the way. Whether it’s cracking, slumping, or uneven surfaces, troubleshooting clay sculpting problems can feel daunting. This session provides a detailed introduction to overcoming these obstacles, empowering you to navigate the world of clay with confidence and achieve desired results.
Why Troubleshooting Clay Sculpting Problems?
Troubleshooting clay sculpting problems offers several benefits for individuals at all skill levels:
- Enhanced confidence: Successfully resolving sculpting challenges fosters a sense of accomplishment, boosting confidence and encouraging further exploration.
- Improved skills: By understanding the causes of common problems and implementing solutions, individuals refine their sculpting techniques and develop a deeper understanding of the material.
- Increased efficiency: Troubleshooting skills enable you to identify problems early and apply efficient solutions, maximizing time and resources.
- Reduced frustration: Knowing how to address common challenges prevents frustration and helps maintain a positive and productive creative environment.
- Greater artistic freedom: Overcoming obstacles unlocks creative possibilities, allowing you to experiment with different techniques and materials without fear of limitations.
In the next, we’ll delve deeper into the meaning of “troubleshooting clay sculpting problems,” exploring the specific issues faced by sculptors and the importance of proactive problem-solving.
Demystifying the Terminology: Meaning of Troubleshooting Clay Sculpting Problems
As we continue our exploration of clay sculpting, let’s delve into the meaning of “troubleshooting clay sculpting problems” and comprehend its significance for aspiring and seasoned artists alike.
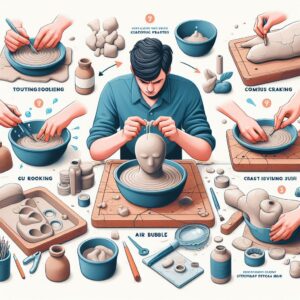
The term “troubleshooting clay sculpting problems” refers to the process of identifying, analyzing, and resolving various challenges encountered during the sculpting process. These challenges can manifest in various forms, including:
- Cracking: This occurs when the clay dries out too quickly, causing shrinkage and fissures in the sculpture.
- Slumping: Large or unsupported clay structures can slump under their own weight, distorting the intended form.
- Uneven surfaces: Improper sculpting techniques, inadequate smoothing, or air bubbles can result in uneven surfaces on the final sculpture.
- Adhesion issues: Clay may not adhere properly to armatures, other clay pieces, or certain materials, jeopardizing the integrity of the sculpture.
- Firing problems: Improper firing techniques or inadequate kiln temperatures can lead to cracking, warping, or discoloration of the finished piece.
Understanding the meaning of “troubleshooting clay sculpting problems” empowers individuals to approach these challenges with a proactive mindset. By recognizing the signs of potential issues and implementing targeted solutions, sculptors can prevent problems from occurring in the first place or mitigate their impact if they do arise.
In the next, we’ll delve deeper into the practical aspect of troubleshooting, providing specific solutions and techniques to address various clay sculpting problems.
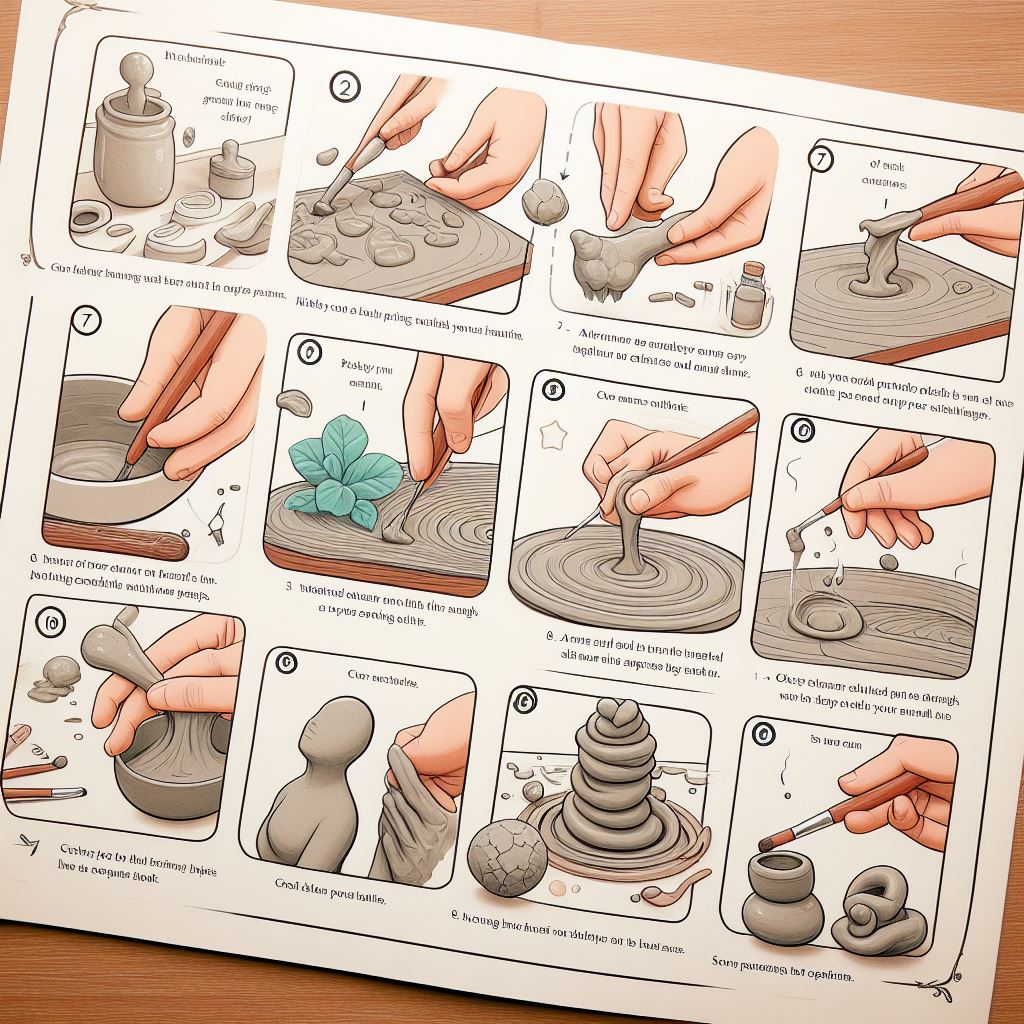
Conquering Challenges: Practical Solutions for Troubleshooting Clay Sculpting Problems
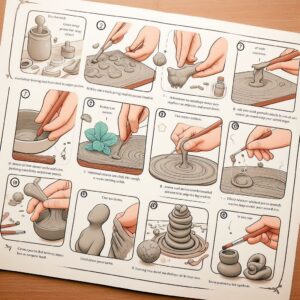
Equipped with a comprehensive understanding of the meaning and importance of troubleshooting clay sculpting problems, let’s embark on a practical exploration of specific solutions and techniques to overcome common challenges.
Cracking:
- Causes: Clay drying out too quickly, uneven drying rates, using too much water, inadequate kneading.
- Solutions: Keep clay covered when not in use, use water spray bottle to rehydrate, add water gradually while kneading, use a scoring tool to join clay pieces.
Slumping:
- Causes: Large sculptures lacking internal support, insufficient armature strength, inadequate clay thickness.
- Solutions: Use armatures made of wire or aluminum foil, use thicker clay for large structures, support large sculptures with scaffolding or platforms.
Uneven surfaces:
- Causes: Improper smoothing techniques, air bubbles trapped in clay, using tools with rough edges.
- Solutions: Use smooth tools like sponges and brushes, smooth out clay while it’s still moist, remove air bubbles by gently rolling the clay with your fingers, use fine-grit sandpaper to smooth dry clay.
Adhesion issues:
- Causes: Incompatible materials, insufficient clay slip applied, surfaces not clean or rough enough.
- Solutions: Use clay slip or glue appropriate for the materials being joined, roughen surfaces to create better adhesion, ensure surfaces are clean and free of dust or debris.
Firing problems:
- Causes: Improper firing temperature or schedule, kiln malfunction, inadequate ventilation.
- Solutions: Follow recommended firing temperatures and schedules for your specific clay type, consult kiln manual for troubleshooting tips, ensure proper ventilation in your workspace.
Beyond these specific solutions, here are some general tips for preventing problems:
- Work in a clean and organized environment.
- Use high-quality clay and tools.
- Plan your project before you start sculpting.
- Work slowly and carefully.
- Take breaks when needed.
- Don’t be afraid to experiment.
- Most importantly, have fun!
By incorporating these solutions and techniques into your clay sculpting practice, you can confidently navigate potential challenges and achieve successful results. Remember, troubleshooting is an ongoing process, and learning from your experiences is key to mastering this rewarding artistic pursuit.
In the next, we’ll summarize the key takeaways and address frequently asked questions, solidifying your understanding and empowering you to tackle your clay sculpting journey with confidence.
Conclusion:
As we conclude our exploration of troubleshooting clay sculpting problems, let’s solidify key takeaways and address frequently asked questions, empowering you with the knowledge and confidence to navigate creative challenges and achieve your artistic vision.
Key Takeaways:
1. Troubleshooting clay sculpting problems is essential for enhancing your artistic journey, fostering confidence, improving skills, maximizing efficiency, reducing frustration, and unlocking greater creative freedom.
2. Understanding the meaning of “troubleshooting clay sculpting problems” enables you to identify, analyze, and address various challenges like cracking, slumping, uneven surfaces, adhesion issues, and firing problems.
3. Implementing specific solutions and techniques tailored to each problem, like using water spray bottles for cracking, wire armatures for slumping, and fine-grit sandpaper for uneven surfaces, empowers you to overcome challenges and achieve desired results.
4. General preventive measures like working in a clean environment, using high-quality materials, planning your project, and working slowly and carefully minimize the occurrence of problems and enhance your overall sculpting experience.
Frequently Asked Questions:
1. What is the best way to prevent my clay from cracking?
Keep your clay covered with a damp cloth or plastic wrap when not in use. Add water gradually while kneading and use a scoring tool when joining clay pieces.
2. How can I prevent my sculpture from slumping?
Use strong armatures made of wire or aluminum foil and ensure your clay is thick enough to support its own weight. You can also use scaffolding or platforms for large sculptures.
3. What should I do if my clay is not adhering properly?
Use the appropriate clay slip or glue for the materials being joined. Roughen the surfaces to create better adhesion and ensure they are clean and free of dust or debris.
4. What should I do if my sculpture cracks during firing?
Consult your kiln manual for troubleshooting tips and ensure you are following the recommended firing temperature and schedule for your specific clay type. Proper ventilation in your workspace is also crucial.
5. How can I improve my troubleshooting skills?
Practice regularly, experiment with different techniques, and learn from your experiences. Don’t be afraid to make mistakes, as they are valuable learning opportunities. You can also consult online resources, books, and other clay sculptors for additional guidance.
Remember, troubleshooting clay sculpting problems is an integral part of the creative process. By embracing challenges, learning from mistakes, and applying the solutions and techniques discussed in this session, you can overcome obstacles, refine your skills, and achieve your artistic aspirations.
This concludes our exploration of troubleshooting clay sculpting problems. I hope you found this information helpful and inspiring. Please feel free to leave a comment below if you have any questions.